Updated: September 2026
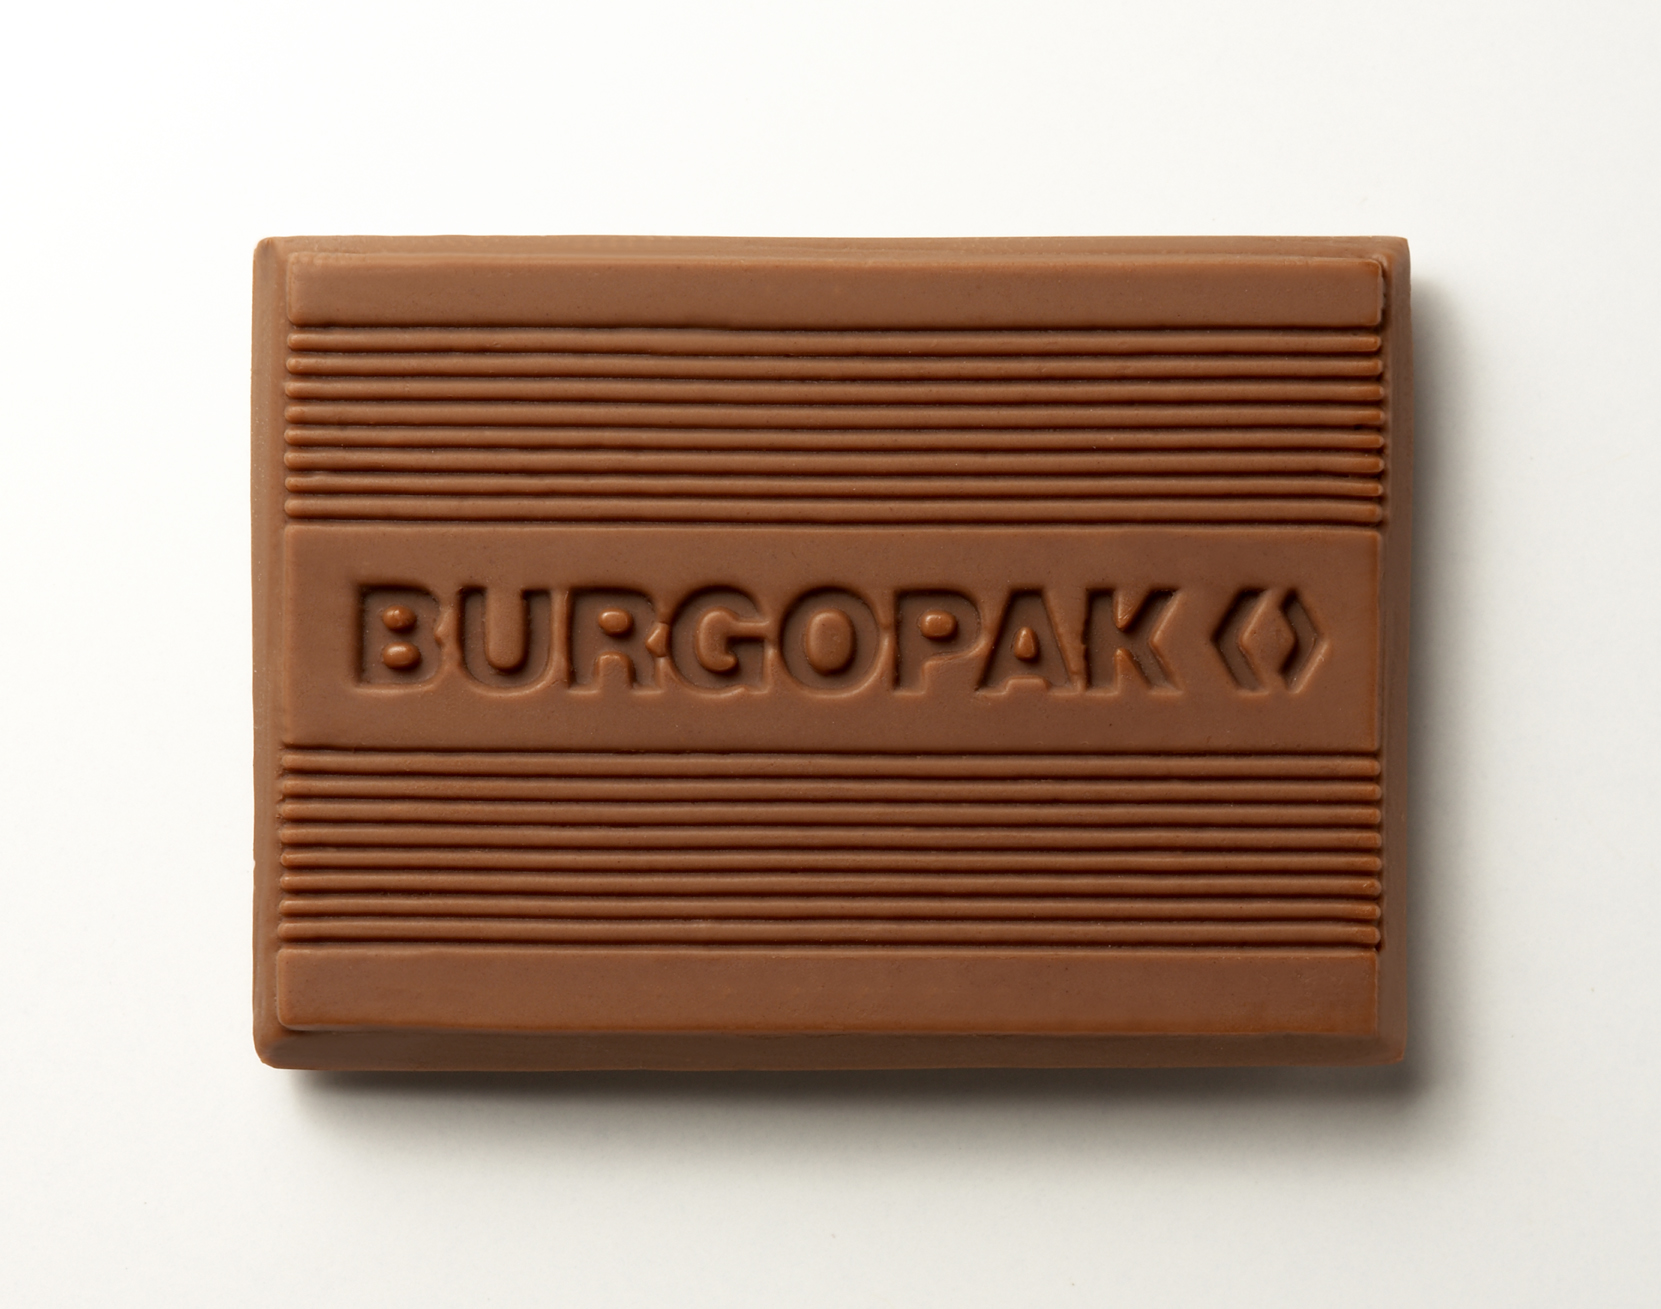
A line drawing comes out of a photo in five steps: greyscale, find edges, adjust levels, strengthen the lines, repeat. It works in Photoshop, just as well in the free GIMP – and, since 2025, with AI image generators if you know a few rules. Schokologo needs exactly this black-and-white drawing to emboss a design in logo chocolate: black becomes raised, white stays the surface of the bar. For three-dimensional figures read 3D chocolate – now a reality.
Why do we need a line drawing?
To make our logo chocolate we need a digital black-and-white line drawing as the master.
- Black areas end up raised on the chocolate.
- White areas form the surface of the bar.
- The optimal line width is at least 0.3 mm – thinner lines fill in during casting.
- This does not apply to 3D figures: there we need 3D data (STL), see 3D chocolate and product replicas.
Can photos of people or buildings be used?
We are often asked whether photos of people, buildings or other objects can be reproduced. The answer: partly, yes. A photo-realistic print is not possible in embossing. We can, however, turn the outlines of people, buildings or objects into a relief that makes the design unmistakable on the chocolate. If you want colour or a real photo on the chocolate, you need printing rather than a line drawing: Printing or embossing?
What you need
- a high-contrast photo – the subject free against a calm background
- Photoshop or GIMP (free, docs.gimp.org) – or an AI image generator, see below
- ten minutes
- the result as a black-and-white file, ideally vectorised (ai, eps, svg), minimum line width 0.3 mm at final size
Step by step in Photoshop
- Open the photo: open the photo in Adobe Photoshop or a similar image editor.
- Convert to greyscale: Image → Mode → Grayscale.
- Find edges: Filter → Stylize → Find Edges.
- Adjust the contrast: Image → Adjustments → Levels – strengthen the important contours and drop the unimportant lines. Fine-tuning the black and white points gives better results.
- Strengthen the lines: thin lines get thicker with a Gaussian Blur (radius 1–2 px) followed by another Levels adjustment.
- Repeat: repeat the last two steps until the drawing looks right.
Video tutorials (in German): photo to vector graphic and pencil effect on YouTube.
Free in GIMP
The same steps exist in the free GIMP (version 3, 2026):
- Image → Mode → Grayscale
- Filters → Edge-Detect → Edge (Sobel or Laplace)
- Colors → Levels: move the black and white points until only the contours remain
- Filters → Blur → Gaussian Blur (radius 1–2 px), then Levels again
- Colors → Invert if the lines come out white on black
Using AI for the line drawing: tips and tricks
AI image generators (ChatGPT, Midjourney, Adobe Firefly, Ideogram and others) turn a photo or a description into a line drawing in seconds. They do not replace the vector step, though: AI produces pixel images, not clean vectors – an SVG “exported” by an AI is usually unusable. The route that works:
- Ask for black and white, no greys: prompt for “pure black-and-white line art, no greyscale, no hatching, no gradients, no shadows”. Grey cannot be embossed – it becomes either raised or surface.
- Thick lines or solid black areas on a white background: fine hairlines and dot patterns get lost in the chocolate. Ask for “bold outlines, closed black shapes, white background” – that keeps every line above 0.3 mm.
- High resolution: generate the image at the highest available resolution or upscale it (at least 2,000 pixels on the long side). Only then can it be traced cleanly into vectors.
- An aspect ratio that fits the chocolate: generate the design in the format of the target shape – square (1:1) for round and square coins, about 2:1 for the rectangular bar, portrait for heart and key. A design cropped afterwards loses detail.
- Vectorise only then: convert the finished pixel image in Adobe Illustrator (Image Trace, preset “Black and White Logo”), in the free Inkscape (Path → Trace Bitmap) or with vectorizer.ai into SVG/EPS and save it as a vector file.
- Check at final size: scale the drawing to the size of the chocolate and check that every line and every gap is at least 0.3 mm; simplify details that are too fine.
Example prompt: “Convert this photo into pure black-and-white line art: bold black outlines and closed black shapes on a white background, no greyscale, no hatching, no shadows, no text, square format, high resolution.”
More free routes: photopea.com works like Photoshop in the browser, vectorizer.ai vectorises directly. Photos of people are personal data – get their consent before uploading them to an online tool, an AI or sending them to us.
How it becomes your Schokologo
Send us the line drawing – you receive a free mockup of your design on the chocolate. Embossed in our Düsseldorf manufactory from Belgian Callebaut chocolate, in milk, dark or white, from about 50 to 100 pieces, usually three weeks after your approval. Standard shapes: round, rectangular, heart, star, hexagon; every shape with your design on logo chocolate, packed as you wish – see chocolate packaging.
A note on our service
Please note that graphic work is not part of our service. If you need help preparing your artwork, we are happy to recommend an experienced designer from our network.